Astrophotography
what is and how to take your first pictureIn the end, when we put a camera (it doesn’t matter which kind of commercial camera) behind the telescope, the telescope then turns into a big lens, just as the lens we put in the body of a reflex camera.
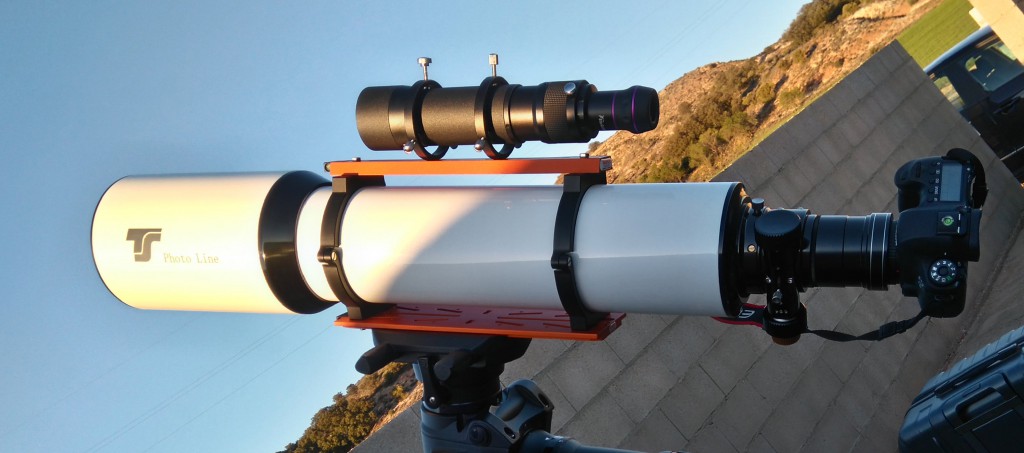

Let’s remark that by “any camera” I mean a webcam, a reflex camera, or a CCD/CMOS sensor. Any of these can be attached to our tube and take pictures of the sky and this is how most of astrophotography is done. However, there are many other set-ups to do astrophotography that do not require the use of a telescope. Let’s talk about the easiest method to take some nice pictures.
How do I take my first picture?
The easiest way to take a picture of the sky is using your camera with a tripod. We need the tripod to stabilize the image as we are going to take pictures of 2-30 seconds of exposure time. After this, you need to choose a target. For the first time, I would recommend you to go somewhere outside the city (in case you live in a city) from where you can clearly see some constellations. It is an advantage if you already know some about sky orientation and constellations, but you can easily print a skychart or buy a celestial planisphere. For your first picture I recommend you to look for a constellation or even better, a celestial conjunction.
At this point, when you are there and you find your target, you then turn the camera on and probably make this question. “How do I get the focus?” In general, autofocus doesn’t work here, so you will need to focus manually. How do you do that? You have two options mainly. The first one is to use the liveview mode (if your camera has it). Turn the liveview mode on, then point to the brightest object in the sky, and use it to get the best focus as possible. Then you can go back to your target. The second option is to take pictures of 1-2 seconds exposure time to a bright star and repeat this until you get the focus.

Between 15 to 30 minutes of exposition time will let you capture the startrails
What can I photograph?
Now you can take really nice pictures. In summer you can capture the Milky Way, while you can capture some meteoroids during the famous meteor showers that take place during winter, using exposure times between 15 to 30 seconds for both. It is important to know that the more focal length you use the less exposure time you have to set on your camera to avoid startrails, however, you can use this as an advantage pointing north or south and capture the effect of Earth’s rotation. Finally don’t forget about comets, auroras, and solar or lunar eclipses as well.
Clear skies!